Vendor Group
What is Vendor Group in Businessflo
A Vendor Group is a classification feature found within the Vendor master records of Businessflo ERP. Its primary purpose is to categorize vendors based on various criteria such as sector, common characteristics, business areas, or business transactions.
You can assign one Vendor Group to a Vendor master and leverage these groups to accomplish the following:
Differentiate number sequences based on the Vendor Group.
Establish distinct accounts for liability when recording invoices specific to the Vendor Group. To assign a GL account to a Vendor Group, you need to use the vendor posting screen.
Assign default tax group, payment terms, and tax zone settings that are specific to the Vendor Group.
Configure mandatory vendor registration based on the Vendor Group. For example, if you have two Vendor Groups, "Registered Vendor" and "Unregistered Vendor," when creating a Vendor master under the "Registered Vendor" group, it is mandatory to record registration with government departments. However, when creating a Vendor master under the "Unregistered Vendor" group, registration with government authorities is not mandatory.
To summarize, the Vendor Account Group within Businessflo ERP serves as a valuable classification tool for Vendors. It enables differentiated numbering, customized liability accounts, default settings for taxes and payment terms, and the ability to control mandatory registration for specific vendor groups.
How to Create a Vendor Group in Businessflo
Navigation
- Module: AP - Accounts Payable
- Process Code: APVG - Vendor Group
There are two options available to navigate to this screen.
- Click on Accounts Payable -> Vendor -> Vendor Group
- Write the process code for this screen in the search bar which will navigate you here directly.
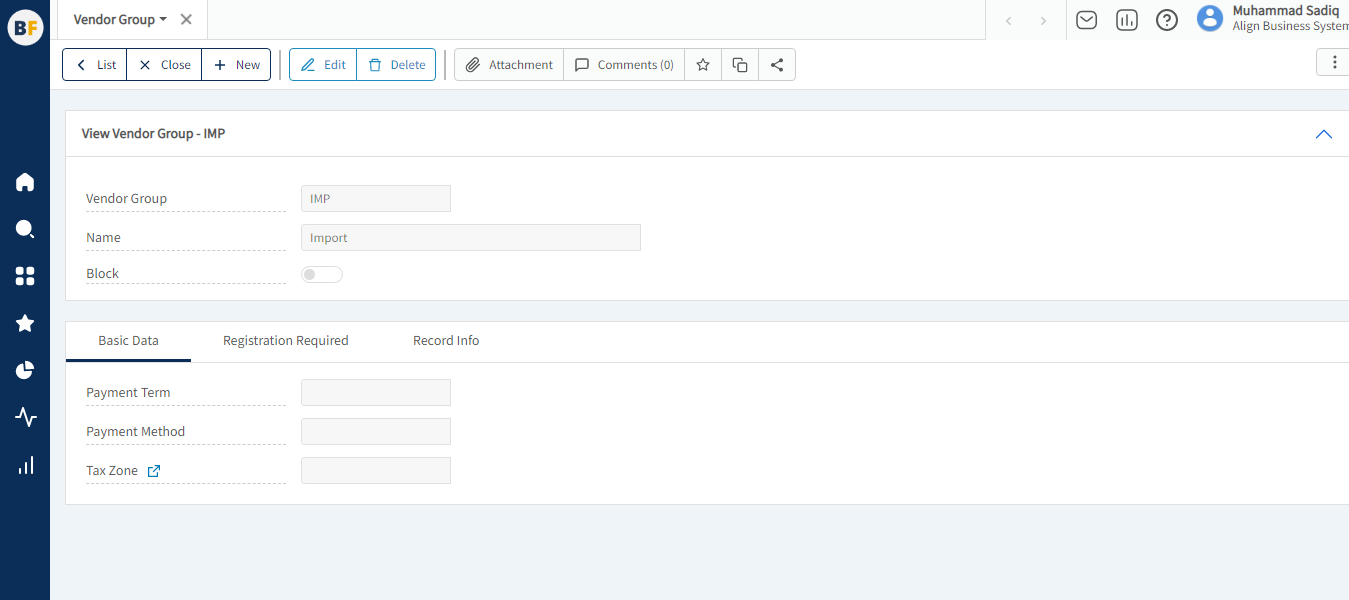
The list displays the existing Vendor Groups generated in the system. You have the option to either create a new Vendor Group by clicking the "New" button or select from the list of available Vendor Groups to view, edit, or delete them.
Process
To create a new Vendor Group, fill in the necessary details:
After filling the header fields, click on Create.
Basic Data Tab
Fill in the payment details for this Vendor Group
Registration Required Tab

You can populate the grid based on your specific needs and requirements.
Now click on Save to save the information provided.